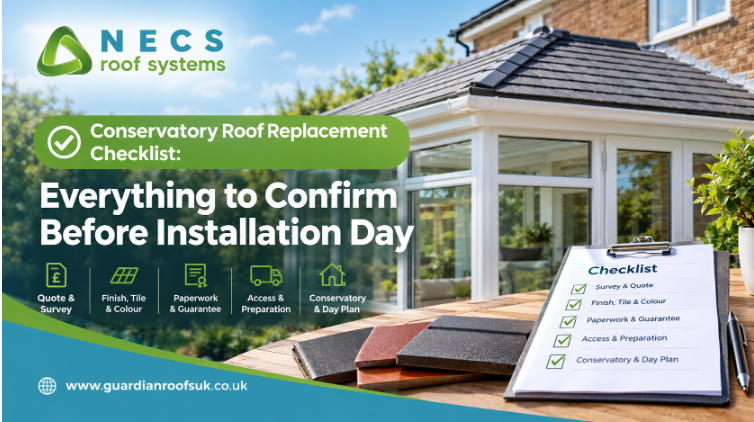
Most problems on a roof replacement don’t happen on the day. They start weeks earlier, with something nobody confirmed in writing. A tile colour assumed rather than signed off, a side gate too narrow for the materials, a guarantee nobody has read. This conservatory roof replacement checklist pulls the lot into one place, so you can tick things off before anyone arrives with a scaffold tower.
Work through it in order. Each section only needs a few minutes, and most items are a quick question to your installer.
1. Confirm the survey and the quote
- [ ] A surveyor has visited your home in person, not just looked at photos.
- [ ] The written quote matches what the surveyor said on site.
- [ ] Any frame or dwarf wall work is listed as its own line, so you can see what it costs.
- [ ] The quote says clearly what is included: roof, tiles, interior ceiling finish, guttering, making good.
- [ ] Anything not included is also written down, such as electrics or redecorating.
- [ ] You know how and when payments are due.
A quote that says nothing about the frame is worth a second look. If you want the thinking behind this, the replacement conservatory roof page explains how the survey and quote fit together.
2. Sign off the finish, tile and colour
This is the section people rush, and the one they most often regret.
- [ ] You’ve chosen the external finish and the installer has confirmed it in writing. Most modern systems use a lightweight tile, though a flat rendered finish is sometimes offered instead. Check which one you’ve agreed.
- [ ] You’ve seen a full-size sample tile, not only a small chip, and held it against your house in daylight.
- [ ] The colour is written on the order. Colours on common tile systems usually include grey, terracotta, mulberry, brown and black.
- [ ] You’ve decided the interior ceiling finish. It’s a separate decision from the outside, so don’t leave it until the tiler is on site.
- [ ] You’ve looked at the options on the conservatory roof finishes page and are happy with the choice.
3. Check the paperwork
- [ ] The installer has confirmed whether your roof needs building regulations approval, and who applies for it. In England and Wales this runs through LABC or your local authority’s building control. Scotland has its own approval system, LABSS, so the right body depends on where you live.
- [ ] You know whether the roof system carries full approval as a named system, and you’ve asked for that in writing.
- [ ] You know the installer’s accreditations, and what they’re accredited for.
- [ ] You’ve been given the guarantee terms before work starts, including what’s covered after the first year.
- [ ] You know who to contact if something goes wrong after the job.
Keep everything together in one folder. Roof paperwork matters again when you sell, so it’s worth being able to find it.
4. Sort out access
- [ ] The route to the back garden is clear and wide enough for materials. Narrow side passages and tight gates are the usual problem on terraces.
- [ ] You’ve told the installer about parking, steps, or anything unusual about the property.
- [ ] You know where scaffolding or a lifting platform will go.
- [ ] Gates are open and accessible, and plants, pots and garden furniture are out of the way.
- [ ] Neighbours know work is happening, particularly if scaffold or noise will affect them.
5. Prepare the conservatory
- [ ] Furniture is out, or pulled well into the middle of the room and covered.
- [ ] Blinds, curtains and anything fixed to the old roof or frame have been dealt with, and your installer knows what stays and goes.
- [ ] Electrics, lighting, heaters and ceiling fans have been discussed, since some may need to be disconnected.
- [ ] Valuables and breakable items have been moved to another room.
- [ ] Pets and children have a plan for the day, away from the work area.
6. Agree the plan for the day
- [ ] You’ve got a start date and a rough idea of how long the work will take. Your installer can give a realistic timeframe once they’ve seen the frame, and weather can shift it.
- [ ] You know who will be on site and who to call if you have a question.
- [ ] You know what happens if the weather turns, and how the open roof is protected overnight.
- [ ] You’ve agreed what happens to waste and old roof materials.
A quick reference table
| Area | The one thing to confirm |
| Quote | Frame work listed as its own line |
| Finish | Tile type and colour written on the order |
| Paperwork | Who applies for building regulations approval |
| Guarantee | What it covers after the first year |
| Access | Route is wide enough and clear |
| Conservatory | Room emptied and electrics discussed |
| Day plan | Start date, contact and weather plan |
Common questions
Do I need to be home on installation day?
It helps, especially at the start and the end. You can sign off the work properly and ask anything that comes up.
Can I change my mind about the colour once work has started?
Not easily. Tiles are ordered to your specification, which is why the sample and written sign-off come first.
What if the surveyor missed something?
It happens, usually frame or wall issues that only show once the old roof is off. Ask beforehand how extra work is handled and priced, so there are no surprises.